
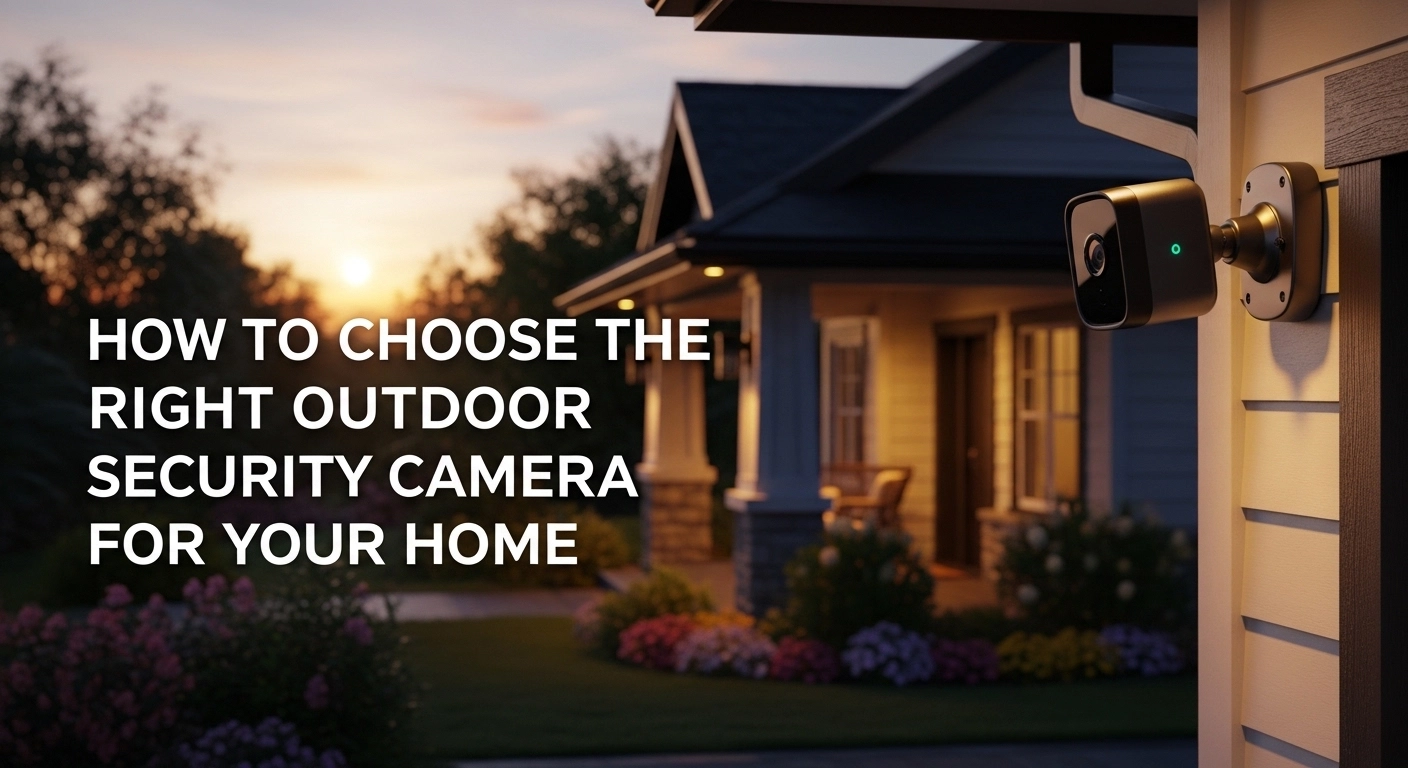
There are over 8,000 outdoor security cameras on the market in 2026. Most marketing pages look identical — “AI detection,” “HD video,” “weatherproof design” — but pick the wrong one and you’ll spend the next two years frustrated. The image will be soft. The night vision will be useless. The motion alerts will spam your phone every time a leaf falls.
Choosing the right camera isn’t about brand loyalty or “smart home compatibility.” It comes down to seven specs that 90% of buyers don’t think about. Here’s exactly how to choose outdoor security camera systems that actually fit your home.
Step 1: Map Out Your Property First
Before you shop, walk around your house and mark:
- Entry points (front door, back door, side gates)
- Driveway or parking area
- Windows on the ground floor
- Sheds, garages, or outdoor stored items
Most homes need 2–4 outdoor cameras. A single camera trying to cover the whole house will deliver poor footage from every angle. Two cameras with focused jobs are almost always better than one expensive “everywhere cam.”
Step 2: Decide on Wired vs Battery vs Solar
This decision should come before brand or features.
- Wired cameras are the most reliable but need a power source nearby.
- Battery cameras are easy to install but need recharging every 3–6 months.
- Solar cameras are the new sweet spot — no wires, no charging, and no monthly maintenance. Models like the Eufy SoloCam S340 or Reolink Argus 4 Pro are great examples.
If your camera spot has direct sunlight for 4+ hours a day, solar wins. If not, choose wired or battery based on how much wiring you can tolerate.
Step 3: Get the Resolution Right
Here’s the truth nobody tells you: 1080p is no longer enough for outdoor use. The wider field of view (which you need outdoors) means each pixel covers more area, so faces and license plates become unreadable.
For 2026, aim for:
- 2K (2560×1440) as a baseline.
- 4K if you need to identify license plates or faces from 30+ feet away.
- HDR support for direct sunlight or shadow-heavy spots.
Step 4: Check the Field of View (FoV)
A 90° field of view sounds wide on a product page. It isn’t. The human eye sees about 200°. Most cheap outdoor cameras land at 90–110°. The good ones are 130°–180°.
For most homes:
- 130°–160° is the sweet spot.
- 180° (panoramic) is great for porches and patios.
- 360° pan-tilt cameras are useful for large outdoor zones.
Step 5: Don’t Get Tricked by “Night Vision”
Black-and-white infrared night vision is the old standard. It works, but you can’t tell colors apart — a red shirt and a blue shirt look identical. Modern outdoor cameras now use:
- Color night vision (with built-in spotlight or starlight sensor) — much better for identifying intruders and seeing fine detail.
- Smart spotlight activation that turns on only when motion is detected.
Color night vision is a non-negotiable in 2026. Skip cameras that only offer IR.
Step 6: Verify the Weatherproof Rating
This is where cheap cameras die. Look for:
- IP65 = dust-tight + water jet resistant (good for most homes)
- IP66 = even stronger water spray protection (better for rainy areas)
- IP67 = can survive temporary submersion (overkill for most uses)
Skip any camera that says “weather-resistant” without an IP rating. That’s marketing speak for “will probably die in 6 months.”
Step 7: Audio and Two-Way Talk
Most outdoor cameras have audio, but the quality varies wildly. Test for:
- Clear two-way audio — useful for telling delivery drivers where to leave a package.
- Built-in siren — great deterrent without paying for a separate alarm system.
- Noise cancellation — outdoor mics pick up wind, traffic, and birds. Better cameras filter all of this out.
Step 8: Local + Cloud Storage Both Matter
This is the most-skipped feature, and the most important.
- Cloud-only storage = monthly fees forever, but immune to camera theft.
- Local-only storage = free, but lost if the camera is stolen.
- Both = the ideal setup. Most premium cameras offer dual storage, and it’s worth paying for.
Step 9: Smart Detection (AI Features Worth Having)
Modern cameras have AI features that filter motion alerts. The ones worth paying for:
- Person, vehicle, package, and animal detection (separately, not lumped together)
- Activity zones to ignore busy areas like a tree or street
- Familiar face recognition for hands-free unlocking and alerts
- Smart event clip generation so you don’t have to scrub through hours of footage
Step 10: Compatibility with Your Smart Home
Last consideration, not first. Pick the camera based on the previous nine criteria, then check if it works with your hub:
- Google Home → Nest Cam Outdoor, Tapo, TP-Link
- Alexa → Ring, Blink, Eufy
- Apple HomeKit → Logitech Circle View, Aqara
- SmartThings → Aqara, Reolink
If you’re not heavily invested in any one ecosystem, just pick the camera that fits your home best. Compatibility is a tiebreaker, not a deciding factor.
Final Thoughts
The right answer to how to choose outdoor security camera systems is to pick based on your specific spot — not on brand reviews or YouTube reviews of other people’s homes. Walk your property, decide on wiring, pick the resolution and FoV that match the area, verify the IP rating, and prioritize cameras with both local and cloud storage.
Spending ₹6,000 on the right camera always beats ₹15,000 on the wrong one. And once you have the right one, you can stop thinking about home security for the next five years.