
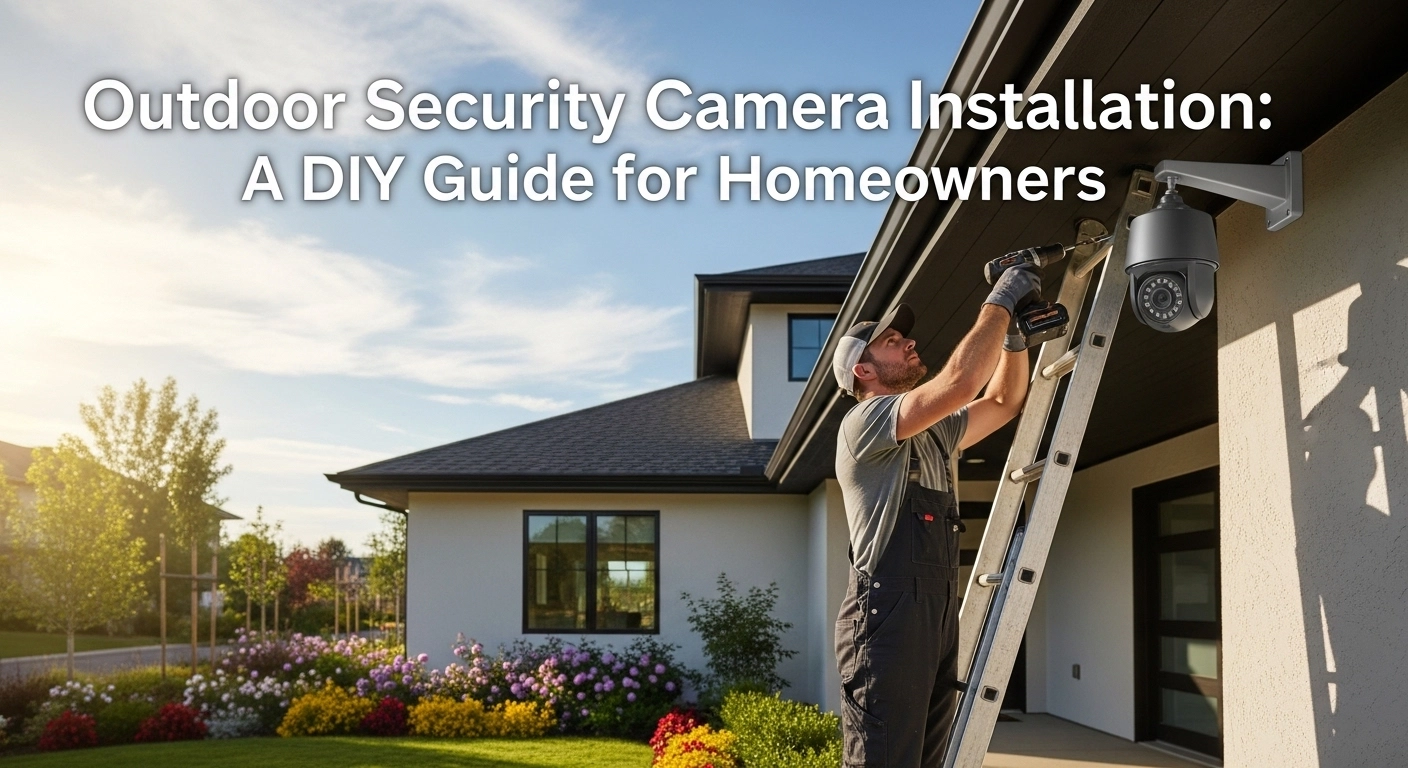
The first time I installed an outdoor security camera, I made every classic mistake. Mounted it too low. Pointed it at the sun. Used the wrong screws. Called my brother-in-law twice. By the third install, I had a system. By the tenth, I could do one in 25 minutes. This is everything I’ve learned, packed into a homeowner-friendly guide.
A successful outdoor security camera installation isn’t about technical skills — it’s about good planning. If you spend 15 minutes thinking about placement and 10 minutes prepping tools, the install itself is honestly easy.
What You’ll Need Before You Start
- The camera and its included mount and screws
- A drill with masonry and wood bits (depending on your wall type)
- A level (or your phone’s level app)
- Screwdriver, pencil, measuring tape
- A sturdy ladder
- Outdoor-rated silicone sealant (very important for waterproofing)
- An extension cord or power outlet within reach (for wired cameras)
- Cable clips if you’re running wire externally
- A second person to help you hold things (optional but very useful)
Step 1: Choose the Right Spot (the Most Important Step)
Most outdoor camera failures happen here. Avoid these common mistakes:
- Don’t mount facing direct sunlight. Morning or evening sun will blow out the image and triggers false alerts every time the light changes.
- Don’t mount under deep eaves. Reduces field of view dramatically.
- Don’t mount where rain bounces off a surface and onto the lens. Even waterproof cameras will fog up if water hits the lens repeatedly.
- Mount 9–10 feet off the ground. High enough to deter tampering, low enough to capture faces.
- Aim for entry paths, not entire areas. A camera covering “the whole driveway” sees nothing useful. A camera covering the path from car to door sees everything.
Step 2: Test the Camera Indoors First
Before drilling a single hole, take the camera out of the box, charge or plug it in, and pair it to your app indoors. This way, you confirm:
- The camera works.
- The Wi-Fi setup actually finds your network.
- The app detects motion correctly.
- The video quality matches what you expected.
I cannot count the number of times I’ve watched someone install a camera, only to find out the model was defective. Don’t be that person.
Step 3: Mark and Drill Your Pilot Holes
Hold the mount where you plan to install it, use a level, and mark the screw holes with a pencil. Set the mount aside.
Drill pilot holes:
- Wood/siding: small wood bit, drill straight in
- Brick/concrete: masonry bit, slow speed, steady pressure
- Stucco: masonry bit, but apply gentle pressure to avoid cracking
Insert wall anchors if you’re drilling into masonry — most camera kits include them.
Step 4: Apply Silicone Around the Holes (Don’t Skip This)
This step protects your wall from water damage and corrosion. Squeeze a small amount of outdoor silicone sealant around each pilot hole before attaching the mount. When you screw the mount on, the sealant compresses and creates a watertight seal.
Most installers skip this. Two years later, water has crept behind the mount, the wall is stained, and the screws are rusted into oblivion.
Step 5: Mount the Camera
Attach the mount to the wall with the screws. Make sure it’s level. Then attach the camera to the mount and adjust the angle.
Pro angle tips:
- Tilt downward 15–25 degrees for porch cameras (capture faces, not heads).
- Tilt slightly downward for driveway cameras to capture license plates.
- For a wide-area camera, aim just below the eye level of the average person.
Step 6: Run the Cable Cleanly (Wired Cameras Only)
If you’re installing a wired camera, the cable is the part most people get wrong. Options:
- Run it through a small drilled hole into your wall (best look, hardest install).
- Run it along the outside wall using clips (easier, slightly visible).
- Run it through an existing porch outlet (easiest, but limited placement).
Whichever you choose, seal any new wall holes with silicone. Water is the enemy.
Step 7: Configure the App and Test
Power up the camera, pair it to your app, and run through:
- Motion test — walk past the camera and confirm an alert reaches your phone.
- Night vision test — wait until dark or block out the light source.
- Two-way audio test — talk through the camera and confirm it’s clear.
- Notification test — make sure alerts are timely and not spammy.
Step 8: Configure Smart Detection Zones
This is the step that separates the amateurs from the pros. Out of the box, most cameras send 50+ alerts per day — every passing car, every blowing leaf. After install, dive into the app and:
- Set detection zones to ignore the road, sidewalk, and trees.
- Enable person detection only if you want fewer alerts.
- Adjust sensitivity to medium — fine-tune from there.
Pro Tips That Save Hours
- Tape over the lens during install so dust and silicone don’t smear it.
- Always test the angle from your phone’s app before you fully tighten the mount.
- Take a photo of the back of the camera (with the QR/serial number) before mounting — you’ll need it for warranty later.
- Keep extra silicone on hand. You’ll always use it on the next install.
Final Thoughts
A clean outdoor security camera installation takes 30–60 minutes the first time, less the next. The biggest wins come from good placement, proper sealing, and smart detection zones. Skip the rush, plan the spot, and your camera will deliver clear footage and reliable alerts for the next 5–7 years.
If you’re nervous about your first install, start with a wireless or solar camera — they’re easier and forgiving. Once you’ve done one, the next will feel obvious.