
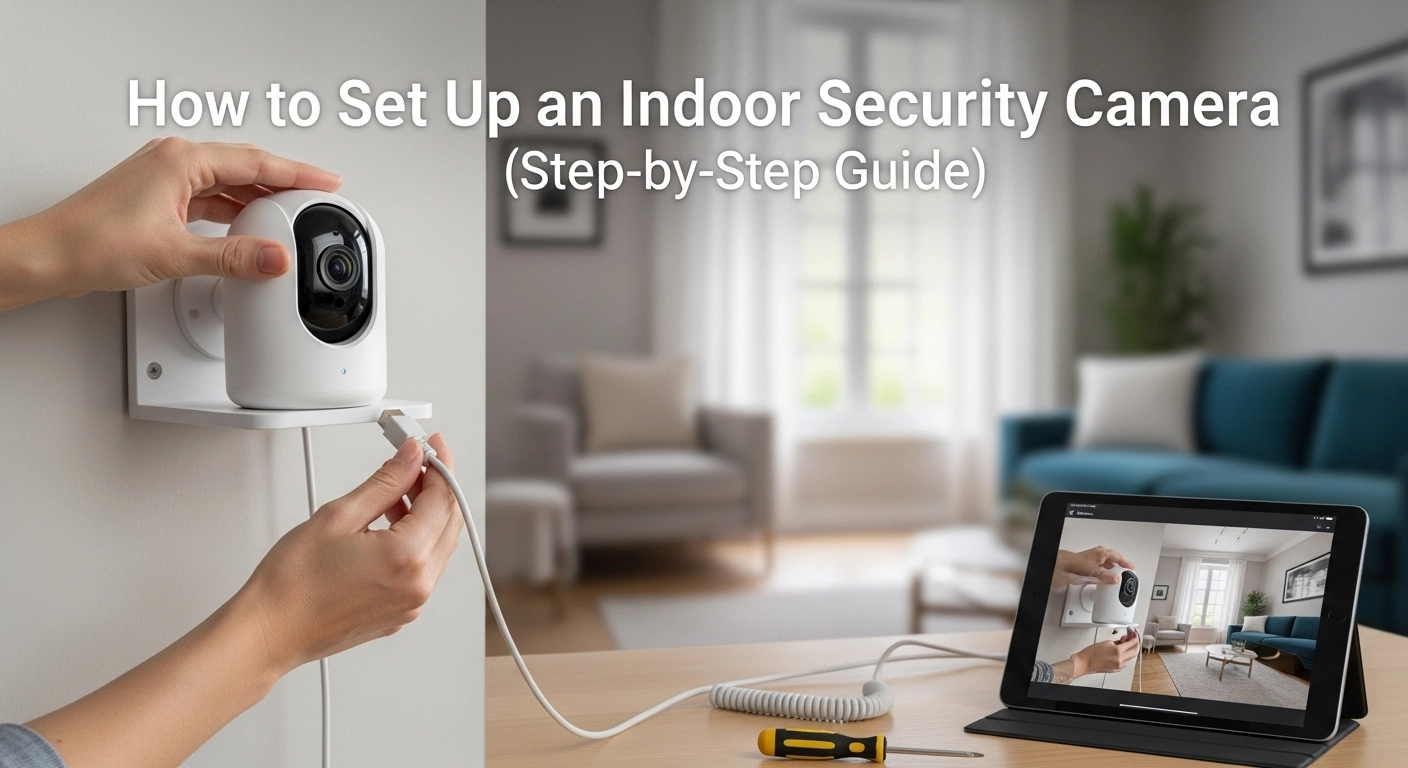
How to Set Up an Indoor Security Camera (Step-by-Step Guide)
You bought the camera. The box is sitting on your kitchen table. And now — like roughly 60% of people who buy smart home gadgets — you’re staring at the QR code wondering if this is going to take 15 minutes or ruin your weekend.
Good news: setting up an indoor security camera is genuinely simple in 2026, if you do it in the right order. Most setup nightmares come from skipping steps or rushing through Wi-Fi configuration. This guide walks you through how to set up an indoor security camera the right way, regardless of brand.
Before You Start: What You’ll Need
- The camera and its included cable
- Your Wi-Fi name (SSID) and password — written down or saved to clipboard
- Your phone, fully charged
- A free wall outlet near your chosen spot
- 15–20 minutes of uninterrupted time (don’t try this with a toddler in the room — trust me)
Step 1: Pick the Right Spot Before You Plug Anything In
Most people make their first mistake here. They place the camera somewhere convenient instead of somewhere effective.
The ideal indoor camera spot:
- Covers the largest entry point — usually a front door, hallway, or living room.
- Sits 7–8 feet off the ground — high enough to see over furniture, low enough to capture faces.
- Faces away from windows — direct sunlight will blow out the image and trigger false alerts every time the curtains move.
- Has a clear power outlet within 6 feet — most camera cables are short, and gaps look ugly.
Avoid bedrooms and bathrooms entirely. Even with the best privacy controls, these spots create more problems than they solve.
Step 2: Download the App First
This is the step everyone skips, then regrets. Download the brand’s official app before plugging in the camera. For example: Google Home for Nest, Tapo for TP-Link, Eufy Security for Eufy, and Ring for Ring. Create your account and verify your email before you go any further. This avoids the camera blinking impatiently while you’re stuck on a verification email.
Step 3: Plug In and Power On
Plug the camera into power. Most cameras have a small LED that flashes blue, red, or yellow during startup. Wait for the steady “ready to pair” light — usually a slow blue pulse — before moving on.
Step 4: Add the Camera in the App
In the app, tap “Add Device” and choose your model. The app will guide you through:
- Scanning a QR code on the back of the camera or on the box.
- Connecting to your Wi-Fi — use the 2.4 GHz network, not 5 GHz. Most indoor cameras only work on 2.4 GHz, and this is the #1 reason setups fail.
- Naming the device something useful like “Living Room” — not “Camera 1.” You’ll thank yourself later.
Step 5: Configure Your Notifications
Default notification settings are almost always wrong. They’ll either spam you or miss important events. After setup, dive into the notification menu and:
- Turn on person detection (skip generic “motion detection” if your camera supports both).
- Set detection zones to ignore busy areas like a fan or curtain.
- Adjust sensitivity to medium — you can tune later.
- Enable smart alerts for packages, pets, or unfamiliar faces if your camera supports them.
Step 6: Set Up Storage
Decide right now: cloud, local microSD card, or both?
- Cloud is convenient, accessible from anywhere, and immune to camera theft. But it usually requires a monthly subscription.
- Local storage (microSD) is a one-time purchase and keeps your footage off the internet. Best for privacy.
- Both is the safest option — many 2026 cameras support this.
Insert a 64GB or 128GB microSD card if you’re going local. Format it through the app, not your computer.
Step 7: Lock Down Privacy and Security
This is the step nobody talks about, but it’s the most important.
- Enable two-factor authentication (2FA) on your account.
- Create a strong, unique password — not your Netflix one.
- Set privacy schedules — for example, the camera turns off automatically when you’re home (geofencing).
- Update the firmware if an update is available. Old firmware = known vulnerabilities.
Step 8: Test Everything
Walk in front of the camera, make some noise, and check whether:
- The motion alert reaches your phone in under 5 seconds.
- Two-way audio works clearly.
- Night vision activates when you turn off the lights.
- You can rewind to view footage from earlier.
If anything fails, troubleshoot now — not at 11 p.m. during an actual incident.
Final Thoughts
Knowing how to set up an indoor security camera properly takes 15 minutes and saves years of frustration. Most setup failures aren’t hardware issues — they’re rushed Wi-Fi configurations and lazy placement choices. Slow down, pick the right spot, configure notifications, and lock down privacy from day one. You’ll never need to think about it again.